Skyships Combat Guide
Locks, missiles, survival decisions, and when PvP becomes real.
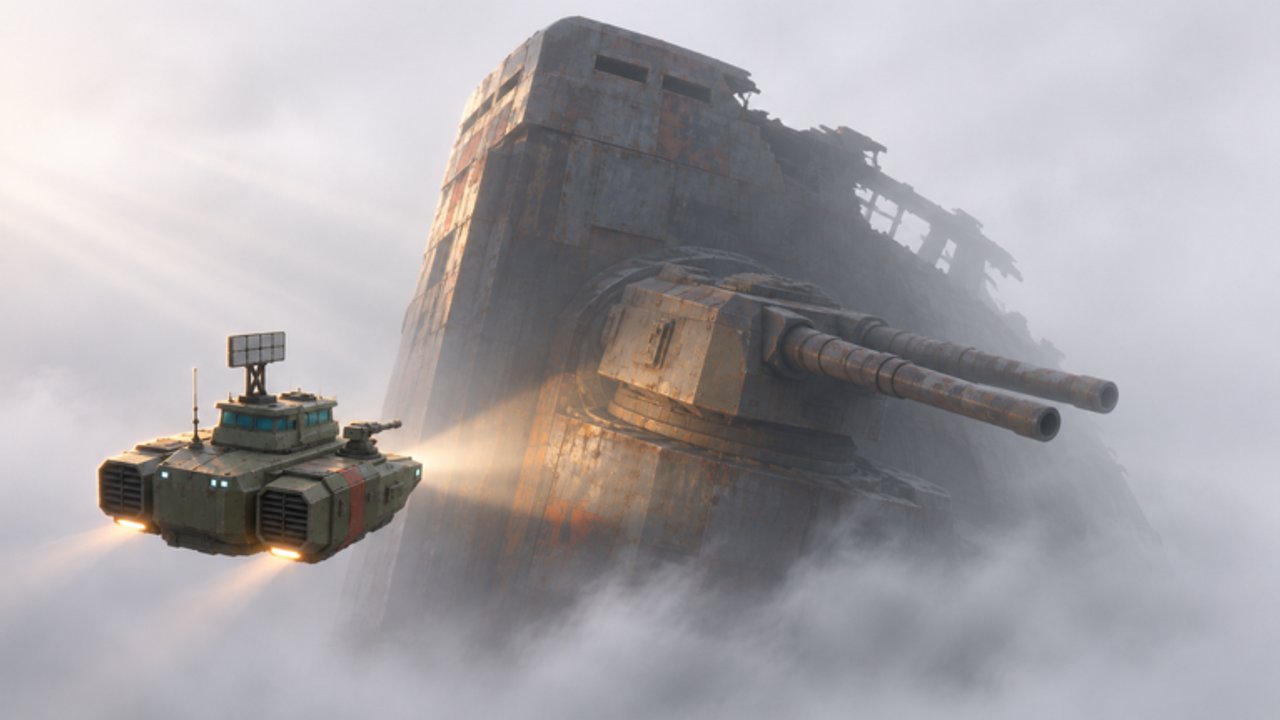
Combat in Skyships separates captains who only haul Iron from captains who keep their hold after a Hostile marker turns red. This guide covers target locks, range and view warnings, gun and missile habits, contract fights, death recovery, and the T4+ PvP gate. Read it before you accept a Bounty that outclasses your Wasp.
Flight fundamentals still matter—review Controls if altitude and thrust are shaky. Ship choice and research from Ships decide whether you duel or flee.
Target acquisition basics
- Left-click a hostile to lock the target.
- Press X to clear a bad or outdated lock.
- Confirm the nameplate before you dump a magazine into a passive prop or allied silhouette.
- Re-acquire after you lose line of sight; do not assume the old lock remains valid through clouds and wrecks.
Clean locks save ammo and prevent friendly confusion in busy Fort Meridian airspace. If the reticule feels sticky, clear with X and click again deliberately.
Range and view warnings
Two HUD warnings define most missed volleys:
| Warning | Meaning | Response |
|---|---|---|
| OUT OF RANGE | Weapons cannot reach yet | Close with W or wait; do not spray |
| TARGET OUT OF VIEW | Geometry or angle blocks the shot | Reposition with A/D and E/Q until the arc clears |
Guns and missiles waste themselves when you ignore these prompts. Strafe laterally instead of pure head-on charges so you can keep the nose free while adjusting altitude. Hull-stress rules still apply mid-fight—clipping a spire while chasing a kill can finish you faster than the enemy’s guns.
Weapons, blueprints, and missiles
Early Field Training often grants an M14 14mm MG blueprint. Build it when you have the materials (training M14 craft costs are commonly listed around 12 Iron), then equip it on a free mount. Later weapons arrive from Cases blueprints stored in the Locker flow—Training through Legendary tiers.
Missile-capable hulls and the Petard (T3 Missile Carrier) change engagement distance. Fire missiles only on stable locks inside range; panic salvos at OUT OF RANGE warnings teach enemy AI nothing and empty your racks. Mix sustained guns for finishers after a missile softens the target.
Free like-reward unlocks can include MK8 Hydra plus a 1.25× kill earnings multiplier—claim that before you grind bounties for cash. Details live on the Cases page.
Contract combat: Field Training and Bounties
You may hold up to three contracts. Combat-relevant jobs:
- Field Training — ore quota plus a small kill count; safest introduction to shooting while still near Fort Anton.
- Bounty / Bounty Hunt — destroy a marked target. Fort Meridian panels include Tier 2 bounty options once you belong in that airspace.
- Escort-adjacent risk on Cargo Run / Courier routes—hostiles can still appear even when the job is a delivery.
Never accept a bounty labeled above your ship tier because the payout looks juicy. The same “beyond our tier” logic that protects miners protects duelists: a T1 hull in a T2 hunt is donation scrap.
Survival: revive versus hangar
When your ship goes down you face a payment fork:
- Revive for 49 Robux — snap back into the fight or the haul if the hold was valuable and the sector is still contestable.
- To Hangar — free repair path; you lose tempo but keep Robux.
Choose revive only when the cargo, contract timer, or squad fight clearly outweighs 49 Robux. Otherwise take the hangar, re-arm, and return with patience. Free-to-play captains can clear the entire combat progression without ever pressing the paid revive.
Enemies and map literacy
The tactical map legend marks Hostile separately from Passive, Friendly, and Allied. Zoom before you commit. Landmarks such as Widow’s Cut or Hostile Skies are named warnings, not tourism stickers. Far sectors can spawn threats players describe as warlord-tier—retreat is a valid tactical choice when your research tree is unfinished.
PvE enemies teach telegraph patterns: break line of sight, clear locks that drift onto wrecks, and do not mine while a red nameplate orbits your tail. Finish the threat or leave the rock; half-digging under fire fills the hold with regret.
PvP gate: Tier 4 and beyond
Player-versus-player pressure becomes a serious factor from T4+. By then hulls like Berkut, Gyurza, and Raptor enter the conversation, and contested high-value rocks attract captains who shoot first. Practical PvP habits:
- Assume other players may be hostile in rich T4 sectors even if chat is quiet.
- Travel with a fleet when hauling expensive Tungsten-level cargo.
- Keep an exit vector toward a friendly fort before you start a long dig.
- Do not AFK on a glowing deposit with a full legendary weapon rack advertising your wealth.
Lower tiers still allow accidents and grief edge cases, but the design intent players report is that dedicated PvP heat ramps hard once T4 ships dominate the sky.
Loadout preparation checklist
- Repair and rearm at a fort hangar before undocking for a bounty.
- Equip the best crafted blueprint you can afford—empty mounts help no one.
- Set a map waypoint on the objective and a mental waypoint on the escape fort.
- Clear cargo you cannot afford to lose; dig after the fight, not during.
- Brief fleet mates on who holds the primary lock.
- If warnings say beyond your tier, abort—credits are slower than respawn shame.
Combining combat with the economy loop
Combat feeds the same economy as Mining: bounties pay credits, Field Training drops blueprints, and safer skies let you finish Ore Contracts. Spend those credits on survivability research before vanity cosmetics. A Corvette with working guns outruns a pretty Wasp every time.
When you die repeatedly to the same marker, stop buying cases and fix fundamentals: range discipline, altitude jiggle, and ship tier. The Guides Hub links Ships and Game Passes if you are evaluating paid shortcuts, but no pass aims your mouse for you.
Fly aggressive only inside your envelope. Clear locks with X, honor OUT OF RANGE, spend 49 Robux only on holds worth saving, and treat T4 airspace like contested water. That is Skyships combat in practice—short, readable fights won by preparation more than panic sprays.
Frequently Asked Questions
Quick answers to the most common questions.
How do I target enemies in Skyships?
Left-click a hostile to lock it. Press X to clear the lock if it is wrong, lost, or no longer useful.
What do OUT OF RANGE and TARGET OUT OF VIEW mean?
OUT OF RANGE means close distance before firing. TARGET OUT OF VIEW means reposition until your weapons can see the target again.
Should I pay 49 Robux to revive?
Only when the cargo, contract, or fight value clearly exceeds 49 Robux. Otherwise choose To Hangar for a free repair and return on your own terms.
When does PvP matter?
Expect serious player-versus-player pressure from Tier 4 and above. Travel with fleets, plan exits, and avoid AFK mining on high-value rocks.
What combat contract should beginners take first?
Field Training near Fort Anton. It mixes light kills with ore goals and often grants an early machine-gun blueprint.